Granola Bars! :-)
>> Wednesday, July 14, 2010
Well, I believe the verdict is in. Although the previous recipe was a bit sweet for my tastes, it does seem to be the one I will go with. When I tried cutting back on the honey the bars were very crumbly. So I guess I'm ready to post the recipe. :-) A couple of weeks ago I ran across a wonderful find that I included in the bars... mini marshmallows. And not just any mini marshmallows... these were truly miniature! They remind me of the kind you get in packets of hot cocoa mix. I included them in the last batch of granola bars, and although I really liked them, the kids said they couldn't really taste the marshmallows. I suppose that's true... but I really like marshmallows. I'd be happy eating a bowl of these for breakfast. :-) In any case, I probably won't use these too often because the store that sells them is pretty far away. I will include them in this recipe, but if you want to either omit them or use something else (nuts or dried fruit) that would be delicious, as well.
And now, for the recipe! Here is the cast of ingredients. It's all pretty basic, and mostly what I use for our regular granola. And as you can see we go through a lot of oats! :-)
- 3 cups oats
- 1/4 cup plus 1 Tablespoon olive oil
- 1/4 cup plus 3 Tablespoons honey
- 1 heaping teaspoon cinnamon
- 1/2 teaspoon vanilla
- 12 teaspoons mini marshmallows
- 6 teaspoons mini chocolate chips
This starts out the same as the other granola. Mix oats and cinnamon in a mixing bowl. Add 1/4 cup olive oil, 1/4 cup honey, and vanilla, and mix well. Pour into a non-stick baking pan and bake at 300 for 30 minutes, stirring every 10 minutes. If you stop at this point you can store in an air tight container and have very simple granola.
To make the bars, let the mixture cool for a few minutes, then pour back into the mixing bowl. While it's cooling, lightly grease a muffin pan.
 Measure out 1/4 cup of the granola into a small bowl, and add 1 teaspoon of mini marshmallows, and 1/2 teaspoon mini chocolate chips. Mix well and pour it into a muffin cup.
 Repeat this with the remaining granola. You'll probably have a bit of granola left over when all the muffin cups are full, so just put a little extra in each of the muffin cups.
 When all the muffin cups are full, firmly pack the granola down into the cups. I've found using a plastic 1/2 cup measuring cup works well for this. I just place the measuring cup on the top of the granola, and press down with as much preasure as I can. When all the granola is packed down, bake at 300 for a final 10 minutes, then allow to completely cool. I usually let mine cool around 3 hours.
When the bars are completely cool, carefully remove them from the muffin cups. I've found an easy way of doing this is to carefully slide a plastic knife down along the side of the bars. This applies just the right amount of pressure to free the bar from the pan. When I first took mine out of the pan they were very sticky. Almost too sticky. So I put them all on a cooling rack on top of a cookie sheet and left them in the (cool) oven overnight. This allowed the air to circulate around the bars and really helped with the stickiness.
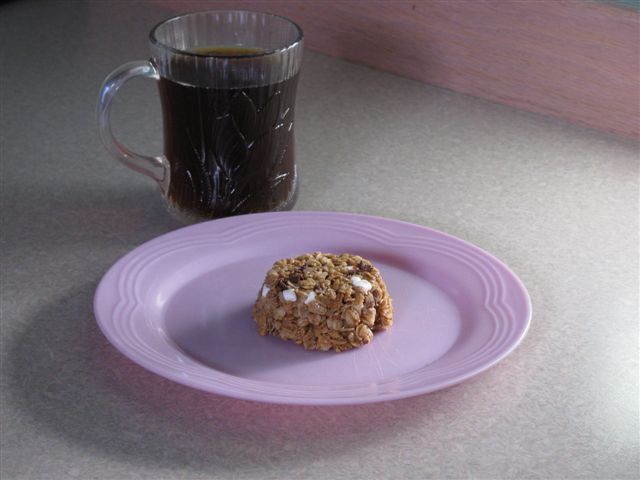 My family loves these granola bars! And even though they are a bit on the sweet side for my tastes, I do admit they go great with coffee! :-) We all thought they taste very close to the S'mores granola bars you can buy in the grocery store. And although they do have more honey than I'd like, at least they don't have the high fructose corn syrup or preservatives of the store bought ones. I also like the fact that they are round, rather than rectangular. It makes them a bit unique. I also think it helps them hold their shape a bit better, as there are no corners to easily break off.
I store these in an air tight container, but they could also be individually wrapped in plastic wrap. I've also decided I need to get a second cupcake pan so I can make more than 12 at a time. Otherwise I'm making a new batch every 3 days. :-)


0 comments:
Post a Comment